MASAMUNE Toolkit Getting Started Guide
Boot from USB and erase data. Everything you need to know from setup to completion, all on one page.
What You Need
8 GB or larger recommended
USB Writer is a Windows-only desktop app
x86_64 (Intel / AMD) only
Wired LAN recommended (required for first login)
Free plan available (up to 10 devices/month)
⚠️ Not supported: Apple Silicon Macs (M1/M2/M3/M4). Intel-based Macs are supported. USB Writer is Windows-only (no macOS/Linux version available).
Download
Log in to masamune.ai and download both the Toolkit ISO and USB Writer from the downloads page.
- USB Writer — A Windows desktop application for writing the bootable USB.
- Toolkit ISO — Approximately 1 GB image file, used by USB Writer.
Create the Bootable USB
Use USB Writer to write the Toolkit ISO to your USB flash drive.
- Launch USB Writer
- Insert your USB flash drive into the Windows PC
- Select the downloaded Toolkit ISO file
- Select the destination USB drive
- Click “Start Writing” and wait for completion (a few minutes)
⚠️ Do not remove the USB drive until writing is complete. Existing data on the drive will be overwritten. Once created, the bootable USB can be reused as many times as needed.
Boot from USB
Insert the bootable USB into the target PC and boot from it.
- Insert the USB flash drive into the target PC
- Power on (or reboot) the PC
- Press the appropriate boot key (see table below) to open the boot device menu
- Select the USB flash drive and press Enter
Boot Key by Manufacturer
| Manufacturer | Boot Key |
|---|---|
| Lenovo | F12 (or Enter → Boot Menu) |
| Dell | F12 |
| HP | F9 |
| Fujitsu | F12 |
| NEC | F12 |
| Toshiba / Dynabook | F12 |
| ASUS | F8 |
| Acer | F12 |
| Sony / VAIO | F11 |
| Other | Press F2 to enter BIOS/UEFI settings and change the boot order |
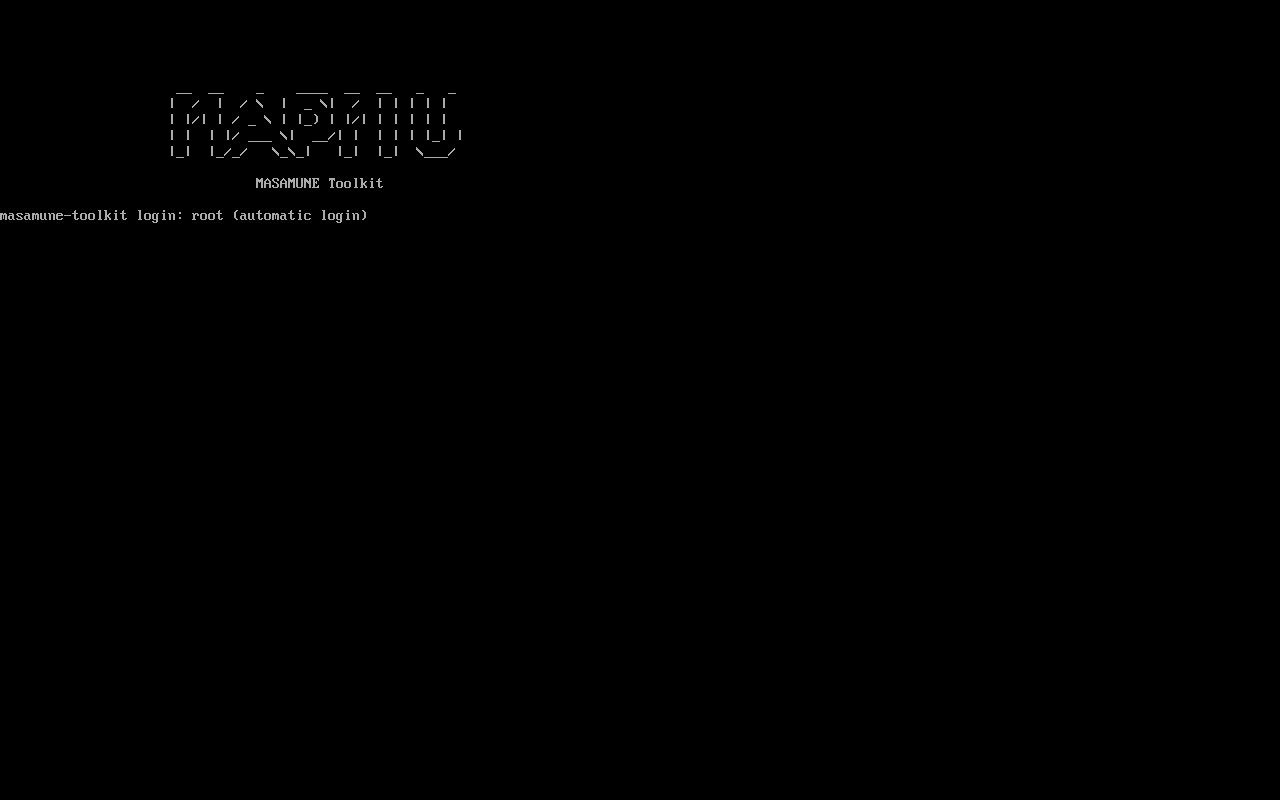
✅ Supports BIOS (Legacy), UEFI, and Secure Boot ON environments. The MASAMUNE logo will appear on a successful boot.
The MASAMUNE Toolkit logo appears when booting from USB (v1.0.0-rc18p)
Network Connection
After booting, the network status is checked automatically.
- Wired LAN: Connects automatically via DHCP
- Wi-Fi: If no connection is detected, a network setup screen appears
On the network setup screen, choose one of three options:
- Configure Wi-Fi — Select and connect to a Wi-Fi network using nmtui
- Retry wired connection (DHCP)
- Continue offline (Manual Mode) — Cannot be used for first-time login
⚠️ An internet connection (HTTPS/443) is required for the first login. Using a wired LAN connection is the most reliable option.
Log In
Enter the following three credentials at the login screen:
- Client Code — Identifies your organization (e.g., 100001)
- Staff Code — Identifies the individual operator (e.g., 2001)
- Password
Enter client code, staff code, and password to log in
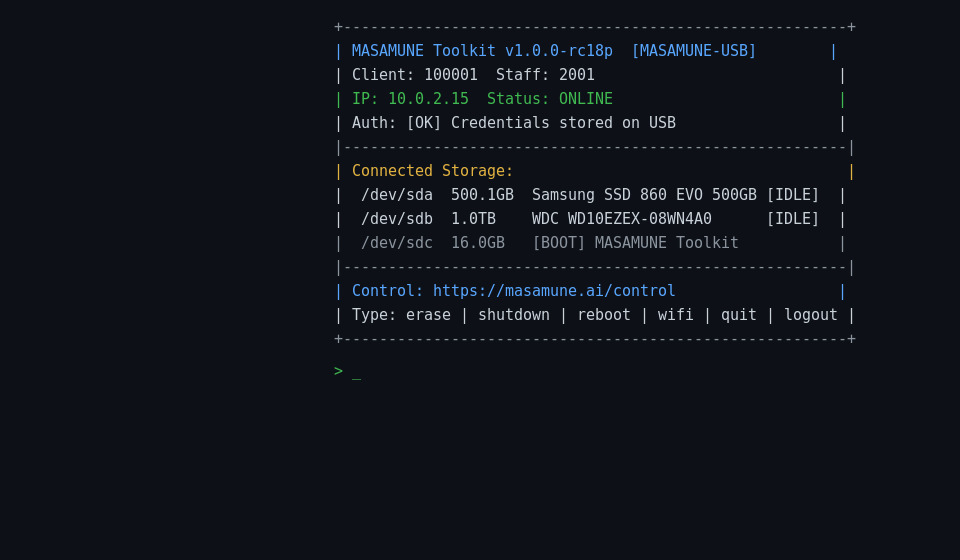
Dashboard after login — shows connected storage devices and worker status
Once status shows "ONLINE", you're ready to go
When the dashboard status shows "ONLINE" and the worker is polling, you can manage erasure remotely from any PC or tablet at masamune.ai/control.
Select devices, choose erasure methods, monitor real-time progress, and download erasure work reports — all from your browser.
After authentication, the dashboard is displayed showing:
- Hostname, client code, staff code, IP address
- Connected storage list (boot USB is automatically excluded with a
[BOOT]label) - Control panel URL:
https://masamune.ai/control
Available dashboard commands: shutdown / reboot / wifi / rescan / mobile / quit / logout
💡 Client codes and staff codes can be viewed and issued from the masamune.ai admin panel.
Start Erasure
After login, connected storage devices are detected automatically. The boot USB is excluded automatically so there is no risk of accidentally erasing it.
Two ways to start erasure:
- Open masamune.ai/control on a separate PC, tablet, or smartphone
- The worker (booted PC) appears in the list
- Select device → select erasure method → start erasure
- Monitor progress in real time
Manage up to 50 PCs simultaneously
- Type
erasein the TUI - Select a device
- Select an erasure method
- Confirm and start
Works without network for local execution
Erasure Methods
Key erasure methods available (partial list). Select from masamune.ai/control:
| Method | Description | Target |
|---|---|---|
| NIST 800-88 Clear | Single zero-fill pass. Fast, ideal for general use | HDD/SSD |
| DoD 5220.22-M (3-pass) | US DoD standard. Zero → 0xFF → Random | HDD/SSD |
| ATA Secure Erase | Drive-native hardware erase command | SATA HDD/SSD |
| NVMe Sanitize Block | Physical erase of all NAND blocks. Recommended for NVMe | NVMe SSD |
| NVMe Sanitize Crypto | Destroys encryption key instantly. SED-capable NVMe only | NVMe SSD (SED) |
Download the Erasure Work Report
When erasure is complete, download the Erasure Work Report (PDF) from masamune.ai.
🔏
Digital SignatureTamper-proof digital signature
📱
QR CodeInstant authenticity verification
💾
SMART DataDetailed drive health records
How It Works: Worker & Cloud Integration
MASAMUNE Toolkit connects the booted PC (worker) to the cloud (masamune.ai) in real time.
masamune.ai/control
Cloud DB
Booted PC
Commands flow from browser → Supabase → worker via ~3-second polling. Progress flows from worker → Supabase → browser in real time.
Frequently Asked Questions
Try It Free
Up to 10 devices/month at no cost. No credit card required.